1. Construction Phase
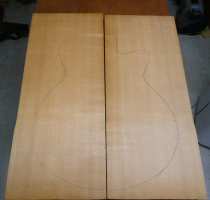
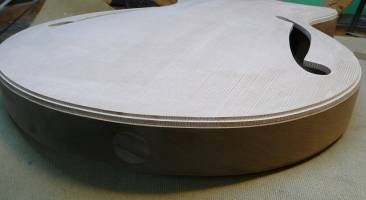
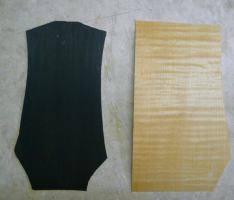
Doug told me this spruce top is at least 160 years old and is from British Columbia on the Canadian West Coast. Both parts were made from one piece of wood and are bookmatched. One can see the body shape already.
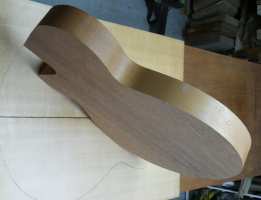
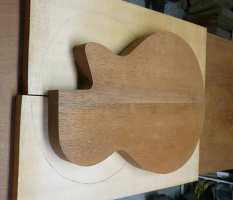
The Guitar Body. The body blank is solid and from tropical Mahogany, also made from 2 pieces. This wood is Honduran Mahogany from Central America. A fascinating contrast, the dark Mahogany and the light spruce top (photo 3).
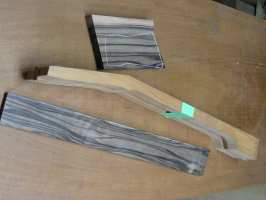
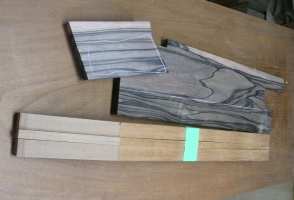
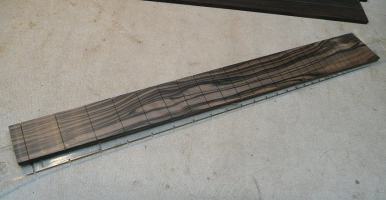
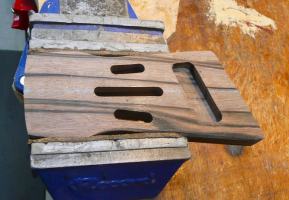
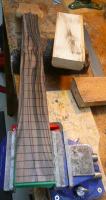
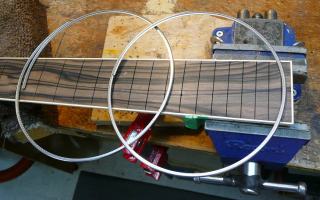
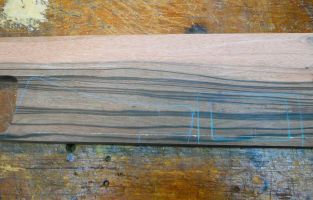
The dark grained wood is Mun ebony and is from Southeast Asia, mostly from Laos and Vietnam. The long piece will be the fretboard (photo 5) not yet cut. The short rectangular piece will be the tailpiece. The light wood is Mahogany and will be the guitar neck. In this photo you can see that the neck blank is in 3 pieces before being joined. The outer pieces come from the same board, the centre piece is from a different board for stability and visual contrast.
2. Construction phase
Spruce wood top is cut to guitar shape
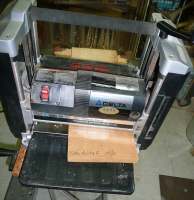
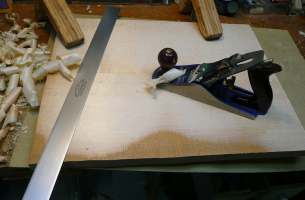
Both parts of the spruce wood top will be cut to equal size before gluing. By a thickness planer the top pieces are planed to equal thickness removing 1 or 2 mm from each piece. The edges (length and width) are also planed to equal size.
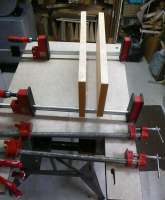
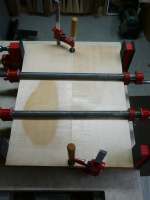
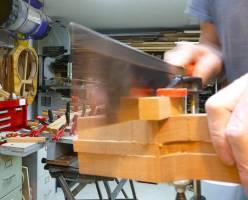
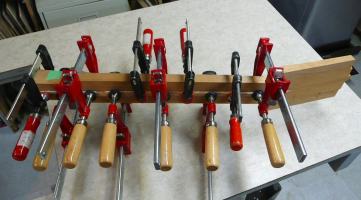
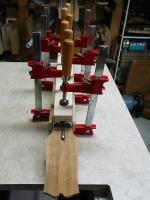
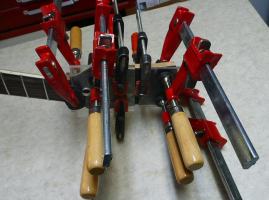
You see both parts of the spruce wood top before gluing and later closed tightly in the clamping device.
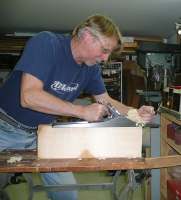
Here Doug inspects top joint under 100x magnificaton from both sides. The joint must be perfectly glued and no gaps will be allowed. If he notices any both parts will be cut apart, completely planed and glued again to ensure max. strength. Because later this joint has to stand max. pressure and tension (a.o. string tension).
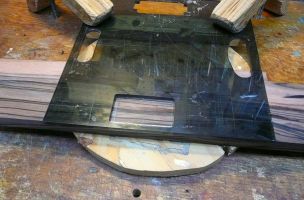
You see the slight flattening of the spruce wood top (inside) and the mahogany body (top) in preparation for the gluing of guitar top to guitar body.
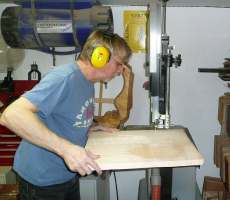
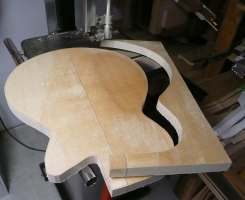
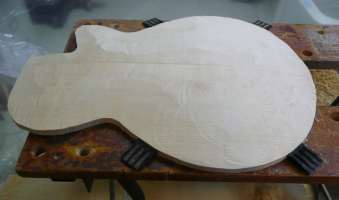
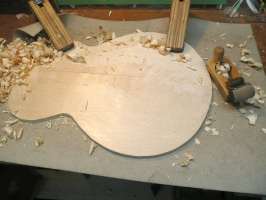
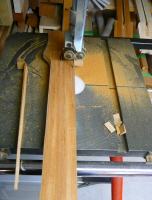
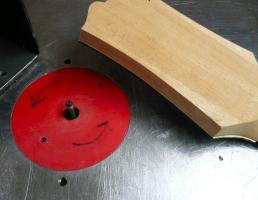
Here it is done! On bandsaw the rectangular spruce wood top is cut out to guitar shape. Please take notice of the thickness of the spruce wood top - still it is about 20 mm. When finished thickness will be between 5 and 20 mm. Detailed information will be given later.
3. Construction Phase
Guitar Neck / Solid Body becomes Semi Body
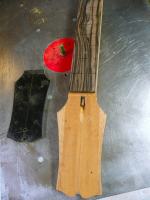
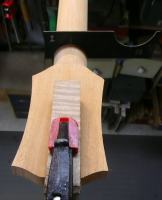
Here you still perfectly well recognize the 3 pieces of the guitar neck and the 5 pieces of the peghead. By adding 2 short wood pieces the peghead will be slightly wider so that there will be space for the tuning mechanics which will be built in later.
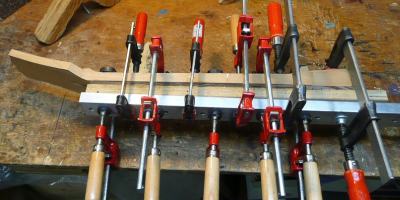
The guitar neck is being glued. Later the top plate will be made.
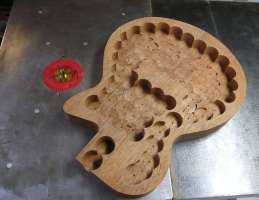
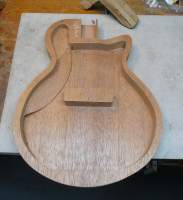
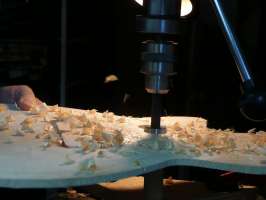
By using a drill press, wood will be removed step by step from the solid mahogany guitar body which still has a thickness of 45 mm. The big holes are of different depths to accommodate the outer body contour. The contour at the waist of the guitar is important as to the playability of the guitar and in the end also how guitar and one`s own body find the right connection. In the centre you see a rectangular template. This is the part where body and top will be connected and the bridge later will be positioned.
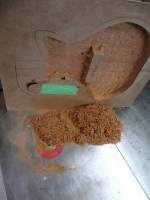
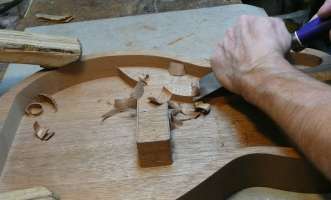
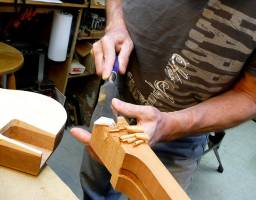
Drill press work has been finished, the remaining studs will be removed by hand.
4. Construction Phase
Interior Construction of the Guitar Body / Curvature of the Guitar Top
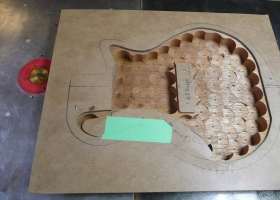
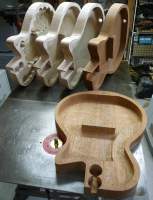
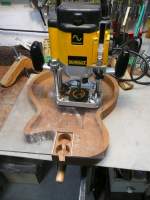
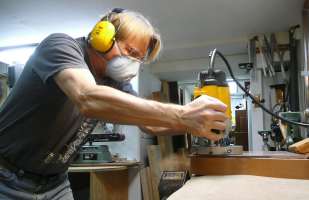
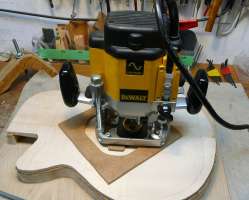
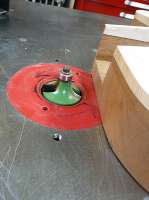
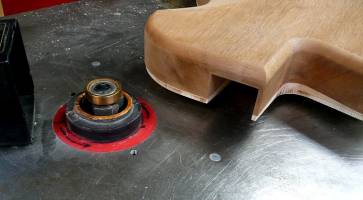
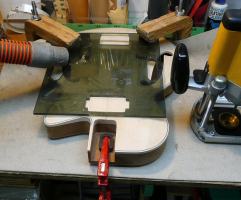
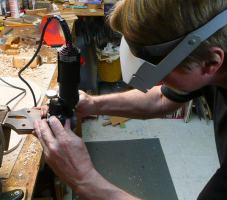
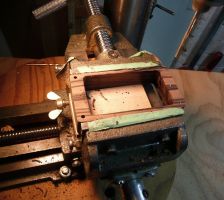
The guitar body needs to be further hollowed out. This process is carried out by a milling machine. For this step one template is fixed to the body, another smaller one fixed to the centre.
Here you see that the milling process has been finished. The different levels in the interior of the guitar body are already visible.
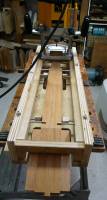
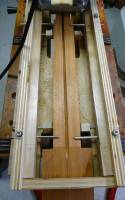
The mortise to fasten the guitar neck still has to be milled. Here also a template is used.
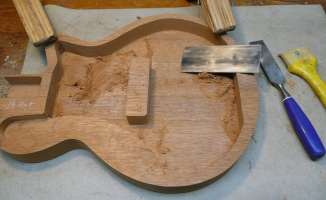
The interior of the guitar is evenly smoothed. On the left side of the photo you can already see the milling groove for the guitar neck.
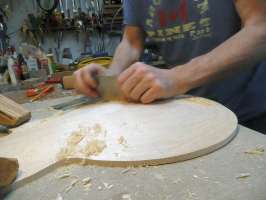
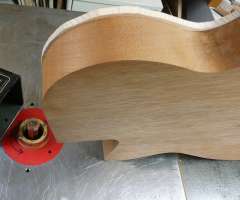
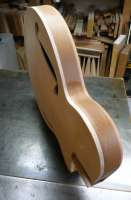
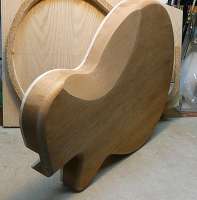
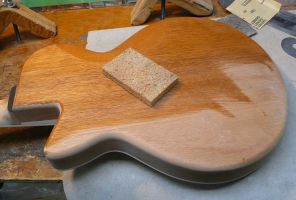
The waist of the guitar is worked out by planing by hand. Here the body will be a little bit slimmer to ensure a better playability of the guitar. After these many working steps we now can see the new contour of the guitar body.
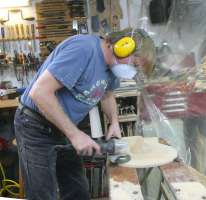
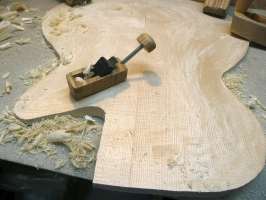
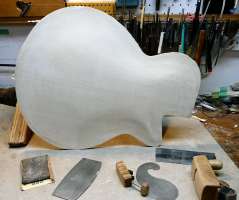
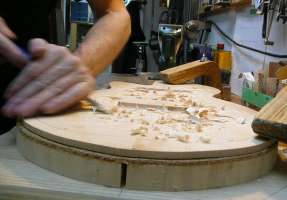
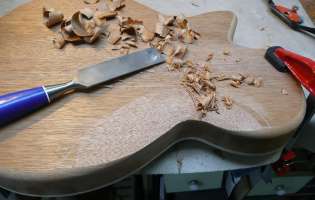
The straight guitar top is turned into a curved one. By using the grinding machine the first rough contours develop.
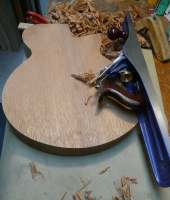
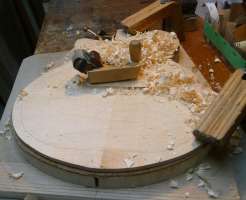
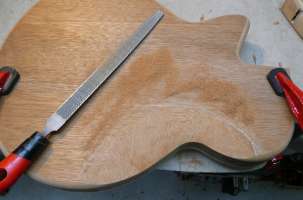
To work more precisely and accurately, among others, the plane is used now. In the right photo the different levels of thickness of the guitar top become visible.
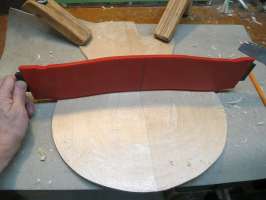
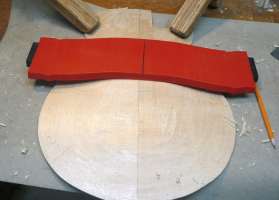
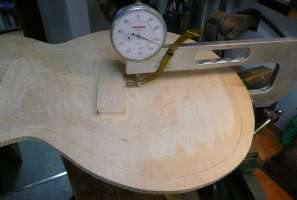
Here the contour gauge is used to examine the symmetry of the curvature and to make sure that the contour of the top is perfect.
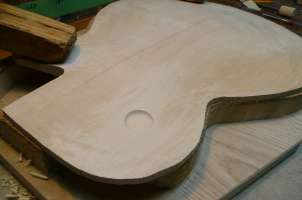
The last uneven spots are corrected by using different tools. Finally they will be smoothly emerized. Now the new contours of the guitar top can be clearly seen.
As a reminder:
In construction phase 2, photo 5 the importance of perfect gluing was mentioned.
Already now top and body had to withstand hard and rough milling and planing processes without the slightest damage.
5. Construction Phase
Interior Construction of the Guitar Body / Top and Back will be glued
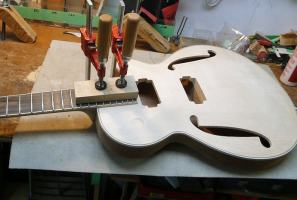
Work on the exterior of the guitar body being one of the main aspects in Contruction Phase 4, the interior of the top will be worked on in this phase. In photo 1 you can see the hollowing out process around the bridge. By using the drill press the top is slightly more flattened.
Protruding remains of the wood are removed and finely planed.
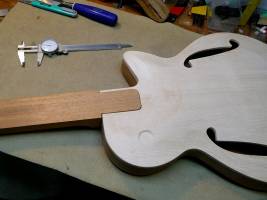
Present thickness of the guitar top is 14.33 mm. The small dial to the left shows 1 mm increments, the large dial shows 1/100 mm. The finished top ranges from 6 to 10 mm thickness except the centre block which remains 20 mm thick. At the edges the top will be a bit thinner. The small round hole is needed later for the 3-way toggle switch of the pickup.
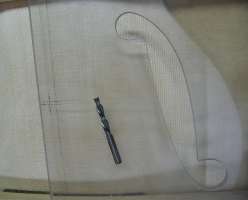
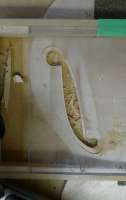
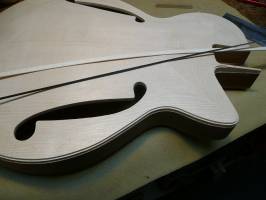
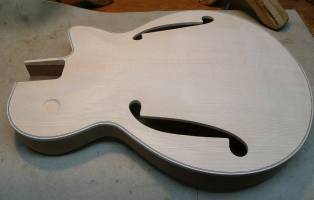
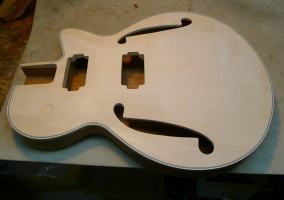
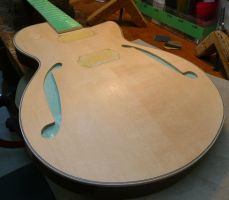
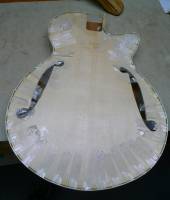
To the left and right of the guitar top the F-hole is cut. The F-hole got its name due to its similarity to the letter f. In the early Middle Ages it used to be a C-hole which then was usual for the viols. The shape of the soundhole has a certain effect on the sound characteristics of each instrument. Although the F-hole is usually preferred in the construction of violins as well as archtop and semi-acoustic guitars still today, the shape of the soundhole has lots of variations and can be quite spectacular depending on the different luthiers.
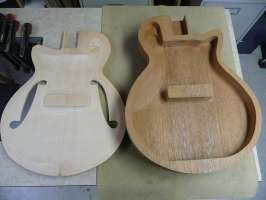
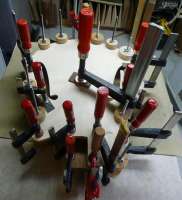
Here you see the interior of top and back before gluing. The two massive sustain blocks in the centre of top and back are effective at preventing feedback at high volume. Every luthier selects different sizes of sustain blocks for different models of guitars. Doug decided to use smaller blocks to have a slightly more acoustic sound and at the same time a reduction in the weight of the guitar. The right photo shows that top and back are fitted and the body of a semiacoustic guitar has been assembled.
The top and back of the guitar still need some adjustment in size. Here the sharp edge of the back is rounded off.
The photo on the left already shows quite a pleasing model of a guitar - particularly to me! You see the waist at the back is developing. As you will remember Doug removed a little less wood in this part (Construction Phase 4, photo 8). In the right photo you recognize the rounded off edges of the body.
Final corrections on the contour of the waist and: the finished waist.
6. Construction Phase
Binding / Guitar Neck
5 months ago Doug started to construct my guitar. Now it is March 2016 and new and interesting photos about the construction progress have arrived. Some photos will be seen in our classroom soon.
Your guitar teacher is sending best regards to those of you who are still following the interesting illustrated report of the construction of a guitar. :)
The neck joint is cut so that it can be fitted to the guitar body.
Guitar neck and body fit perfectly well. The gluing will be done later. Screws on neck and body which you see on many E-Guitars are not required. The photo on the right shows the guitar body being prepared for the cutting of the binding slots.
Photo 5 shows the 2 binding slots, the one for the black purfling strip and the other for the white binding. Although the binding has 2 important tasks little attention is drawn to it in the guitar world. On the one hand it offers additonal stability at this delicate part between top and back and also certain protection of the edges which don't splinter so easily when being bumped. On the other hand the binding, particularly because of the wood grain, helps to prevent the penetration of moisture. The purfling strip is without function and only a wonderful and decorative part which you might find painted on very cheap guitars. If you take a close look at the left photo you will notice the hole on the side for the output was drilled already.
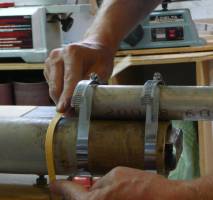
Binding and purfling strip are of maple wood. The purfling strip is dyed black and laminated with plain maple. To be able to attach the binding strip to the guitar body it has to be bent on a heated pipe. After that the strips are glued and taped - as at the doctor's.
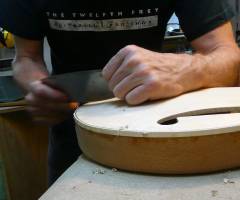
The scraping needs to be done in order to get the binding flush with the top.
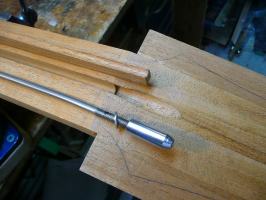
There is a slot in the guitar neck to fit the truss-rod which prevents a bending of the neck. The photos show the guitar neck with and without slot. E-Guitars and acoustic guitars always have this truss-rod because the high pressure of the steel stringing often leads to a bending of the neck. Classical concert guitars only very rarely have this truss-rod.
7. Construction Phase
Fretboard and Guitar Neck
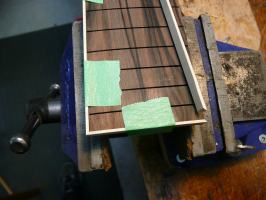
You already can see the slots for the stainless steel frets on the fretboard. Again precision work is required. If there are mistakes a correct tuning of the guitar over the complete fretboard will not be possible. On the right photo you see the truss-rod for (possible) corrections on the guitar neck and the fillerstrip which will enclose the truss-rod.
The truss-rod now is installed in the guitar neck which is being trimmed to the exact size. And: the peghead no longer is rectangular.
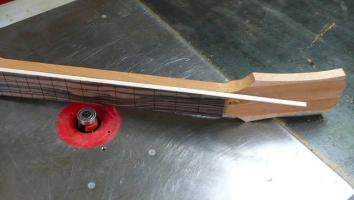
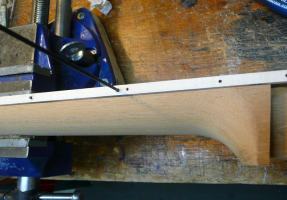
The fretboard (the narrow dark strip) is glued to the guitar neck. Peghead and the transition to the neck are trimmed precisely according to the template.
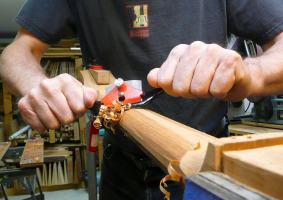
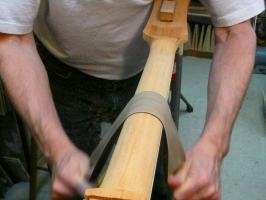
Like on the guitar body there are bindings on the transitions between the mahogony and the Mun ebony. By using a spoke shave the neck is roughly shaped. The developing radius is of importance for the individual feeling as to how the guitar body lies in the grabbing hand and how easily the chords can be played. But there cannot be a rule in general because all hands have different sizes.
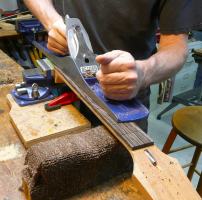
Here you can see the beautiful Mun ebony tailpiece. The fretboard is smoothly planed and gets a rough radius.
Shaped wooden blocks now make sure that it gets a precise radius. Bindings can be fitted and glued.
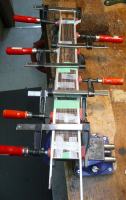
Bindings are glued and taped. The guitar neck is smoothly shaped.
The neck contour is checked, on the first fret as well as on the 12th. The holes for the side dots on the neck are drilled.
8. Construction Phase
Fret Work / The Last Woodwork Finishings
Gabun ebony is used as black veneer to refine the finishing of the headplate. The light maple veneer is used decoratively, comparable to the purfling strip on the top. The right photo shows the frets in their original state. They are from stainless steel and therefore wear-proof. Those who play their guitar a lot know that the fretbars will be worn off at any time and new fretwork is inevitable.
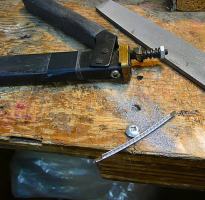
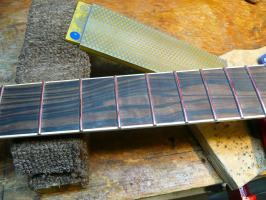
The fretbars are cut to size, dressed and glued. To reduce costs today the fretbars often are pressed mechanically into the wood and therefore are not exactly fitted. Moreover, their surface often also is not smoothly polished and is rough which can cause problems when string bending is necessary. As it happens, the edges also often are not deburred so that when playing the guitar one can get caught and playability is not perfect.
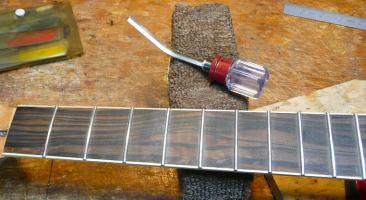
The fretbars are marked with red colour so that Doug can see which frets are already trimmed. After this treatment the frets are slightly too flat therefore they have to be recrowned in an extra treatment. In the next photo the frets are perfectly and smoothly polished and in the end they are without the slightest flaw - playability will be a dream!
Both veneers - Gabun ebony and maple - are glued to the headplate and cut to size.
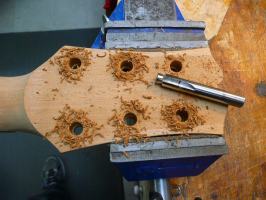
Here the peghead needs some last finishing work. It is slightly removed from the veneer so that the trussrod is accessible. The holes for the tuning mechanics are drilled.
The holes for the pickups are drilled.
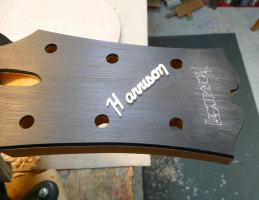
Of course, the name of the guitar builder on the guitar is a must!
In this photo you see the preparations for the inlay. The builder's name is not glued but inlayed which again requires high precision work.
Now guitar neck and body are glued and can no longer be separated -
and I already can feel the sound!
The guitar will now be finely polished and prepared for the clear nitrocellulose painting which will keep all interesting and fine wood grains and structures visible.
9. Construction Phase
Lacquerings and delicate fine wood work
You see the final preparations before lacquering. The mahogany is sponged, the liquid is absorbed and so the wonderful grain becomes even more conspicuous. After that paste filler is applied on the mahogany only because this wood has open pores which would be difficult to fill with lacquer alone. The paste filler has to dry for about 24 hours, then wiped off and finally will be sanded.
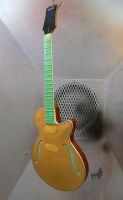
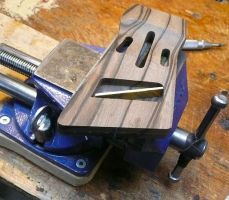
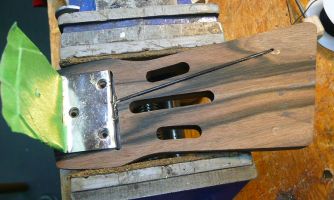
The guitar will get 9 coats of lacquer. Those parts which will not be lacquered are covered with green tape. Therefore the F-holes are closed with the help of a bent wire which really is a fiddly job and needs some experience.
The first coat seals the wood, the paste filler remains in the pores of the wood only.
The guitar then gets 8 further coats which are sanded every 2 coats. By this it is ensured that the grain shows evenly without protruding structures.
The fan in the spray box very quickly removes the harmful lacquer fumes which develop when spraying the nitrocellulose paint.
The drying and hardening process of the lacquer takes about 2 weeks and takes place in a separate area at room temperature.
While the lacquer is hardening Doug begins to do the final wood works.
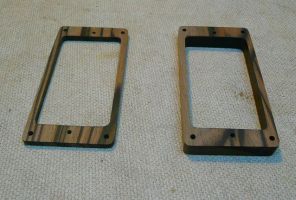
The left photo shows the Mun ebony for the pickguard and the frames for the pick-ups. You see the templates are marked and will later be cut.
The frames are done and you can see that they are of different thickness. This is because the distance of the strings from guitar top to bridge is higher than the distance of the strings from guitar top to guitar neck. The frames are needed to narrow the gap. The flatter frame is for the pick-up at the neck.
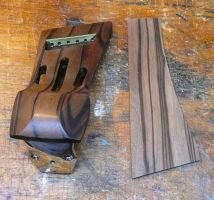
Although made of metal and wood the tailpiece will be one perfect unit. The strings will go through the metal bar and fastened without putting any damage to the wood. In the right photo you have the really rare view at the tailpiece from underneath and it shows the connection of the 3 holes to the tailpiece as well as the ground cable.
Here you see the tailpiece from above. The 6 holes in the metalbar are for the strings. The 3 holes in the metalpiece are needed to fasten sides and guitar strap. To the right you see the blank of the pickguard and the different appearance of the tailpiece which already was treated with Tung oil and wax.
Fretboard, pickguard, pick-up frames and tailpiece are finished with two coats of Tung oil which nearly completely is absorbed and helps to prevent the loss the moisture. One day later a thin coat of wax is applied, on the one hand, to seal the wood and, additionally on the other hand, it gives a wonderful low gloss finish.
10. Construction Phase
By adding the final ingredients my dream at last will come true
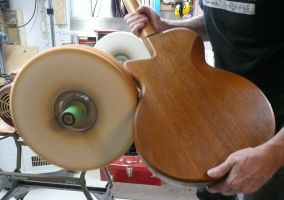
The guitar as a whole is being wet sanded before applying the high gloss polish.
All preparations are finished now so that with the final polish the high and deep gloss is developing.
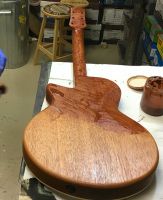
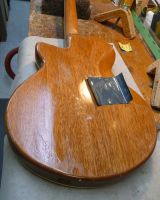
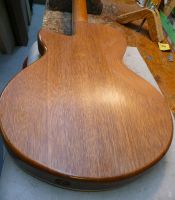
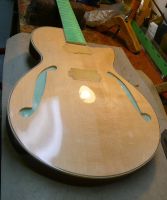
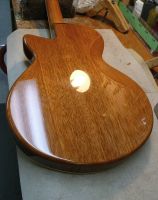
The polishing has been done so well that mirror images of the close surrounding can be clearly seen on the guitar top as well as on its back. You even can recognize the bulb of the lamp.
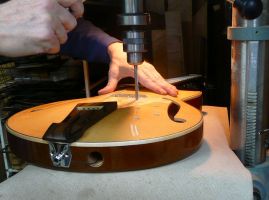
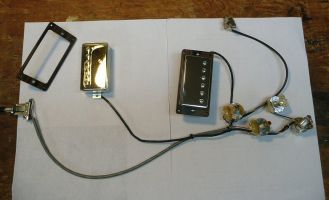
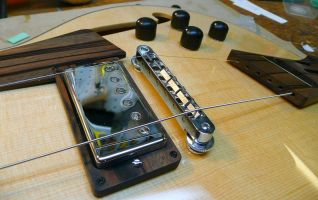
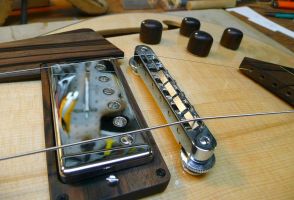
Now the pickups, the bridge, the tone and volume controls have finally to be fitted. As you see Doug is drilling the holes to fix the bridge. The four holes for the tone controls are finished already. Next you see the pickups by Seymour Duncan together with the cables and the fitted trimrings.
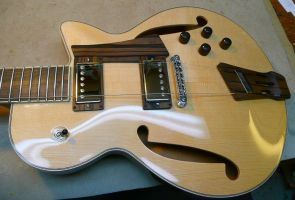
The pickups, the three-way toogle switch, the tone control, the bridge, the pickguard, the tailpiece: they all are fixed. In the right photo you see the proof of Doug's extremely exact and precise way of working which was determining throughout the whole work process.
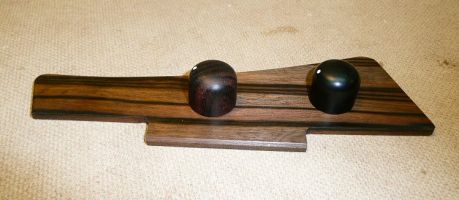
Even the control knobs were made by Doug. I could choose between black ebony and decently striped Mun ebony. I decided for the subtly striped ebony.
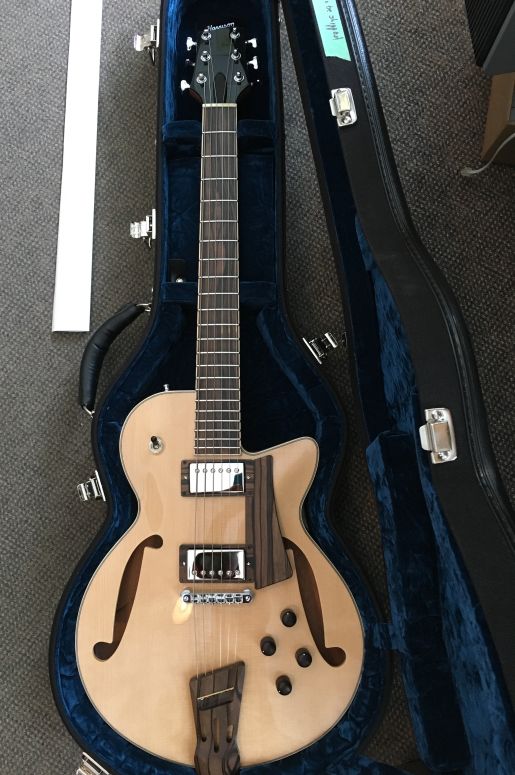
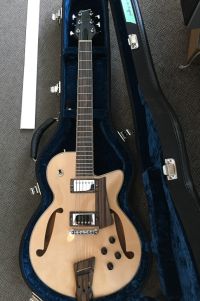
Now in April 2016 after 7 months' work the guitar finally has been finished! And it really looks wonderful! Doug already played the guitar and his comment simply was: I am very pleased with the results.
Michael Vogt - Phone: 0203–784523 - Mobile: 0172-2132245 - Email: info@gitarrenlehrer-duisburg.de

